Monday 21 November 2011

Altered Gum Tins

Happy Monday everyone! I altered a few of these gum tins over the weekend. I'll be altering a lot more of these this coming week. My brother gave me a box of these tins many years ago. I move them with me to every house I move too. I could never think of what to do with them until now. They were filled with gum that tastes okay but they stick to your teeth. I emptied them and will be filling them with other kind of treats. These alter tins will be for my sisters to give away this year. I made Christmas favours for them every year to give away. They always enjoyed them and of course the recipient love them too.


I measured the tin to get the measurements so I can cover it with Designer Series Paper. I used all the retired papers I have on hand for these tins. I die cut the snowflakes using the Northern Frost Die. Such a nice snowflakes die. The little flowers are made using the Trio Flower Punch. I punch a hole on each side of the tin with a Crop-a-dile. So easy with the Crop-a-dile. I don't have to drill holes anymore. Yay! These tins can also be hang on a Christmas tree as ornaments. Now I'm off to finish altering the tins.

Thank you for stopping by today!

Happy Stamping!
Deanna 

Saturday 19 November 2011

Canadian Demo Christmas Cards Swap Group 2

Here is the second group of cards from the swap I joined.
by Jackie Stalker
by Karen Steeves
Cute stockings!


 by Jenn Souch


by Sarita Chapdelaine


by Belinda Keays

Friday 18 November 2011

Canadian Demo Christmas Cards Swap

Here are the cards I got back from the swap I joined in October.  I joined in 2 groups and I'll show you the first group today.

by Stacey Gillis


by Kim Stathakos


 Inside of the frame of Kim's card.


by Kathy Brookes 
The snowball with a bird on it moves around.


by Michelle Clarke


 by Susan Anna Mac Donald


Inside of the frame of Susan Anna's card.

Thursday 17 November 2011

12 Days of Christmas Projects Tutorial For Sale


The 12 Days of Christmas Projects Event is now over. WOW! Over 300 people received the tutorials for FREE. If you missed this event you now can purchase the tutorial.

For $12.99 you get 12 projects with over 100 step-by-step photos of the projects. The project is in PDF, like all my other projects. This tutorial is non refundable. Sales are final.

Here is one of the project in the tutorial.

To get this tutorial simply click on the PayPal button and it'll be sent to you within 24 hours. Unless I'm on vacation. I'll send it to you as soon as possible.


Wednesday 16 November 2011

3D Trees Card

Good day everyone! I'm finally done scanning the work samples for September and October and send them to the homeschool teacher. Now I need to do the November work samples.

I did take a little break and did some stamping. I made a card.


I've finally ordered the Petite Pennants Builder Punch and I love it. At first I had no idea what to do with it so that's why it took me so long to order it. I made a 3D Christmas trees. I punched the pennants out using the Old Olive card stock, run it through the Big Shot using the Petals-a-plenty Embossing Folder to embossed the pennants and glue them together. I used three pennants punch outs for each tree. The trunks was made by punching 2 Chocolate Chip card stock using the Word Window Punch. Everything is fast with punches. My favourite tool.

Thank you for visiting today!

Happy Stamping!
Deanna

Monday 14 November 2011

Canadian Only Christmas Cards Swap

Happy Monday everyone! Hope you all had a wonderful Remembrance Day long weekend. I sure did. We had a birthday party for our 2 daughters. One turning 9 tomorrow and the other turning 5 on Wednesday.


I made this card for the Canadian Demonstrator Only Swap. I joined 2 groups so I made two different designs using the 
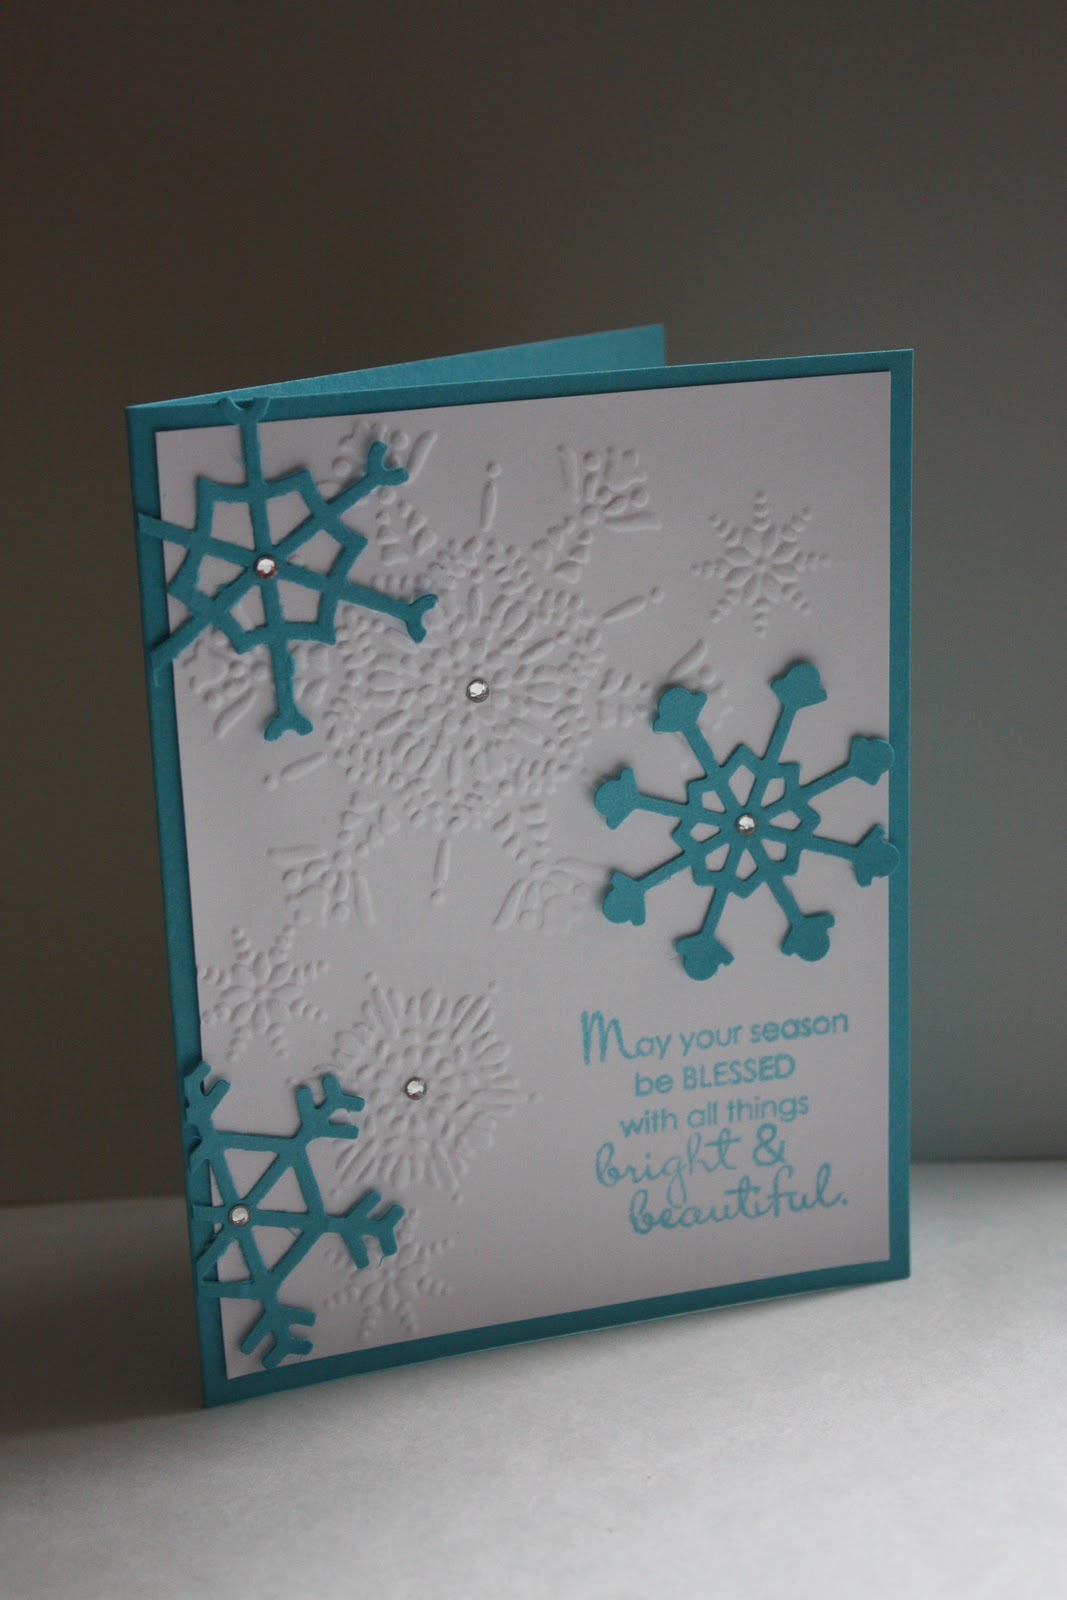
Merry & Type  stamp set. Here is the first one.


There was a lot of colouring on both cards. I made 5 each for each design.


Here is the second design I made. I used the Letters to Santa Designer Series Paper for both designs.


For this card I added Crystal Effect on the ornaments. Not sure if you can see it in the photo.

I'll show you the swaps I got back in another post so this post wont be too long. They are all very awesome cards.

Thank you for stopping by today! Have a great day!

Happy Stamping!
Deanna

Thursday 10 November 2011

Christmas Bird House

Good day everyone. It has been 2 weeks since I've create anything. Life has been busy around here.
Here is a bird house I made awhile ago and finally decorate it. I wanted to put lots and lots of snowflakes and flowers on this bird house but I have to contain myself. I used the Northern Frost Die for the snowflakes.


I top off the bird house with snowflakes and ribbon. I used the seam binding ribbon and loop the ribbon a few times to get the full puffy look. Love this ribbon. The lid of the bird house opens up and you can put treats in it. Makes great Christmas gift. Wrap it with a cellophane and tie it with a ribbon.


I sponged the snowflakes with Crumb Cake ink. The flowers are made using the Trio Flower punch (retired).


Thank you for visiting today!

Happy Stamping!
Deanna

Friday 4 November 2011

12 Days Of Christmas Coming Along

Hello, stampers! Good day.

We're in the fourth day of the Christmas projects. Everyone who already subscribed to my blog are enjoying the projects. Have you subscribe to my blog yet? You don't want to miss out! You'll receive projects 5-12 if you subscribe today. Projects 1-4 are already sent out and will not be resend.

Here is a sneak peek of project 4. It is a mini tag album.

Hope you'll join us in all the fun!

To subscribe go to the left side of the blog, enter your email address on the blank and then click the "subscribe" button. It'll take you to a window. Once you are there just follow the instructions to subscribe. Make sure you confirm your email subscription.
Happy Stamping!
Deanna